Encrypted Field Plugin (for JIRA)
Guide:
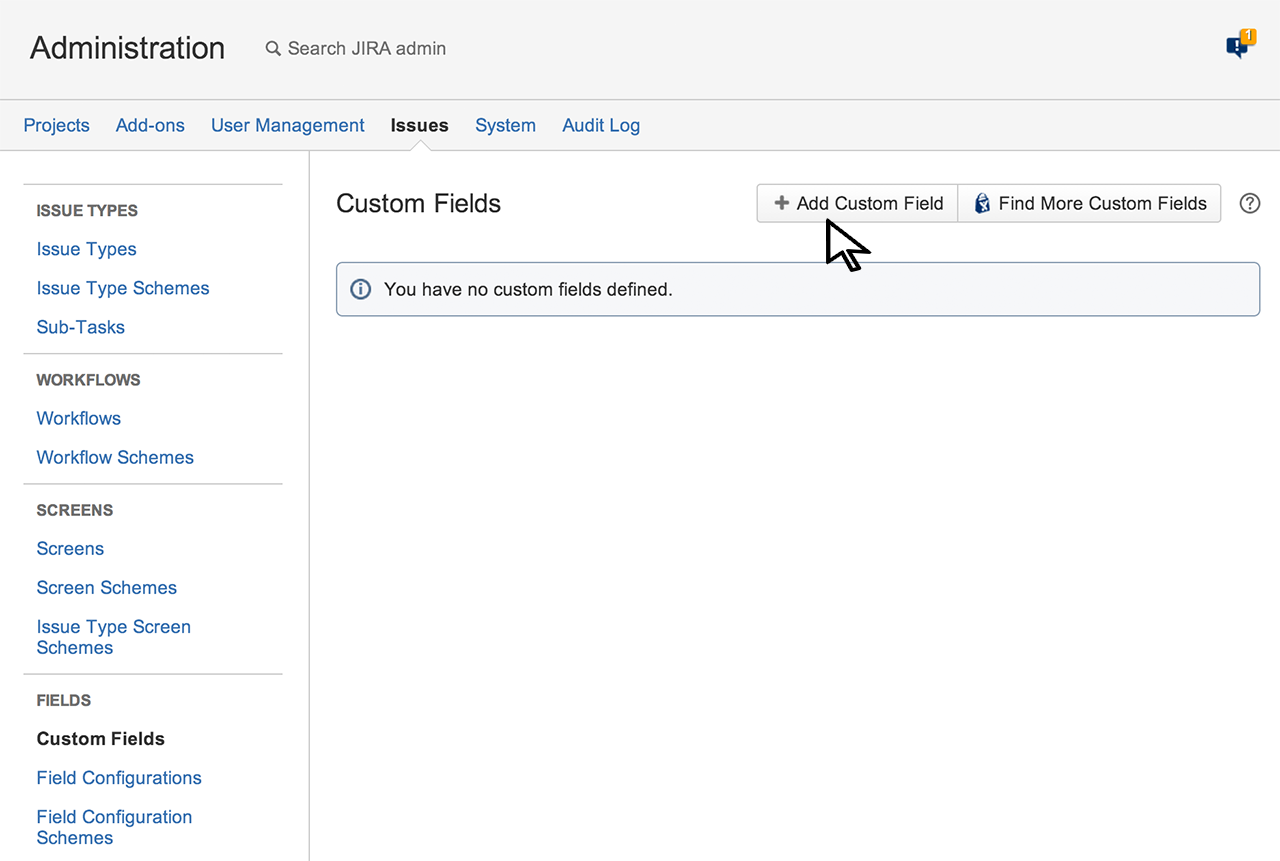
1. Start by adding a new custom field:
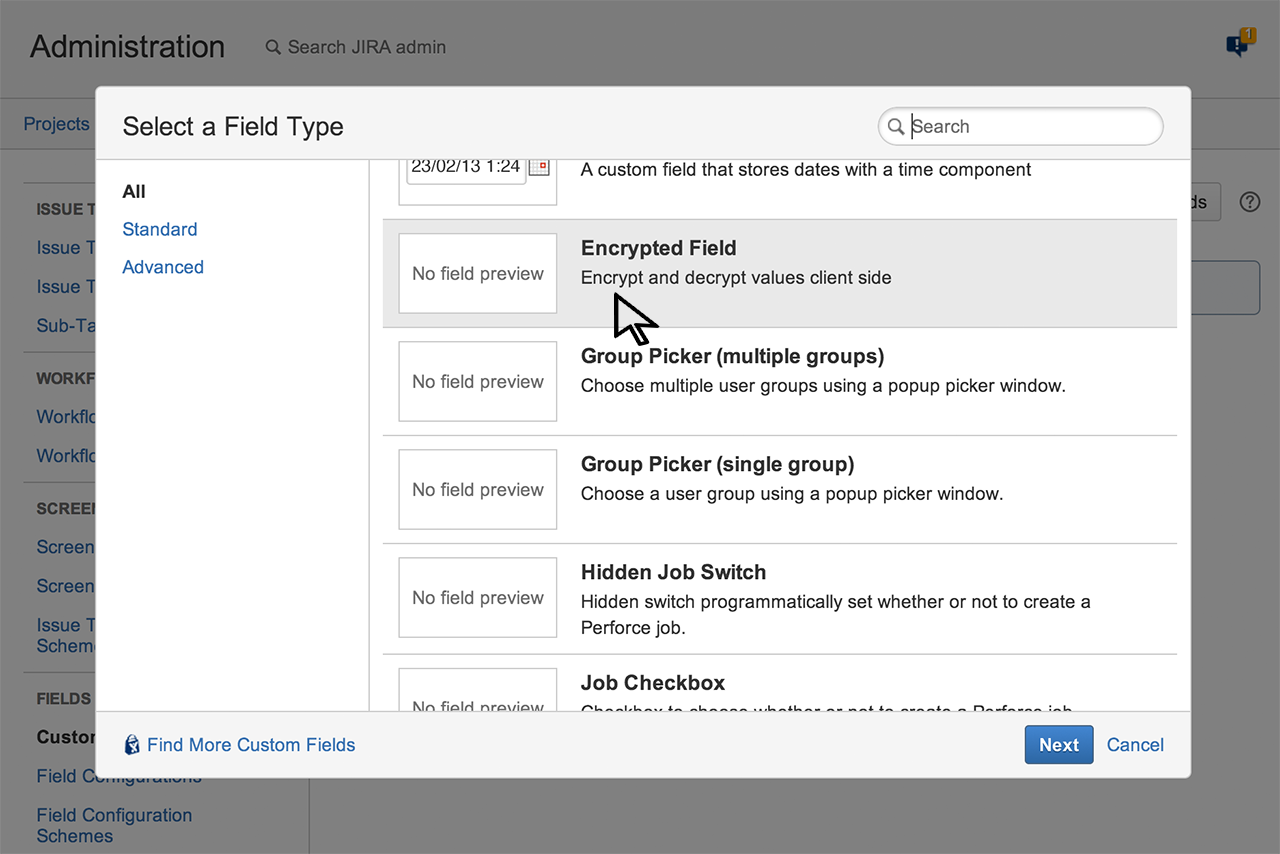
2. Choose the Encrypted Field type (its visible under All), and press Next.
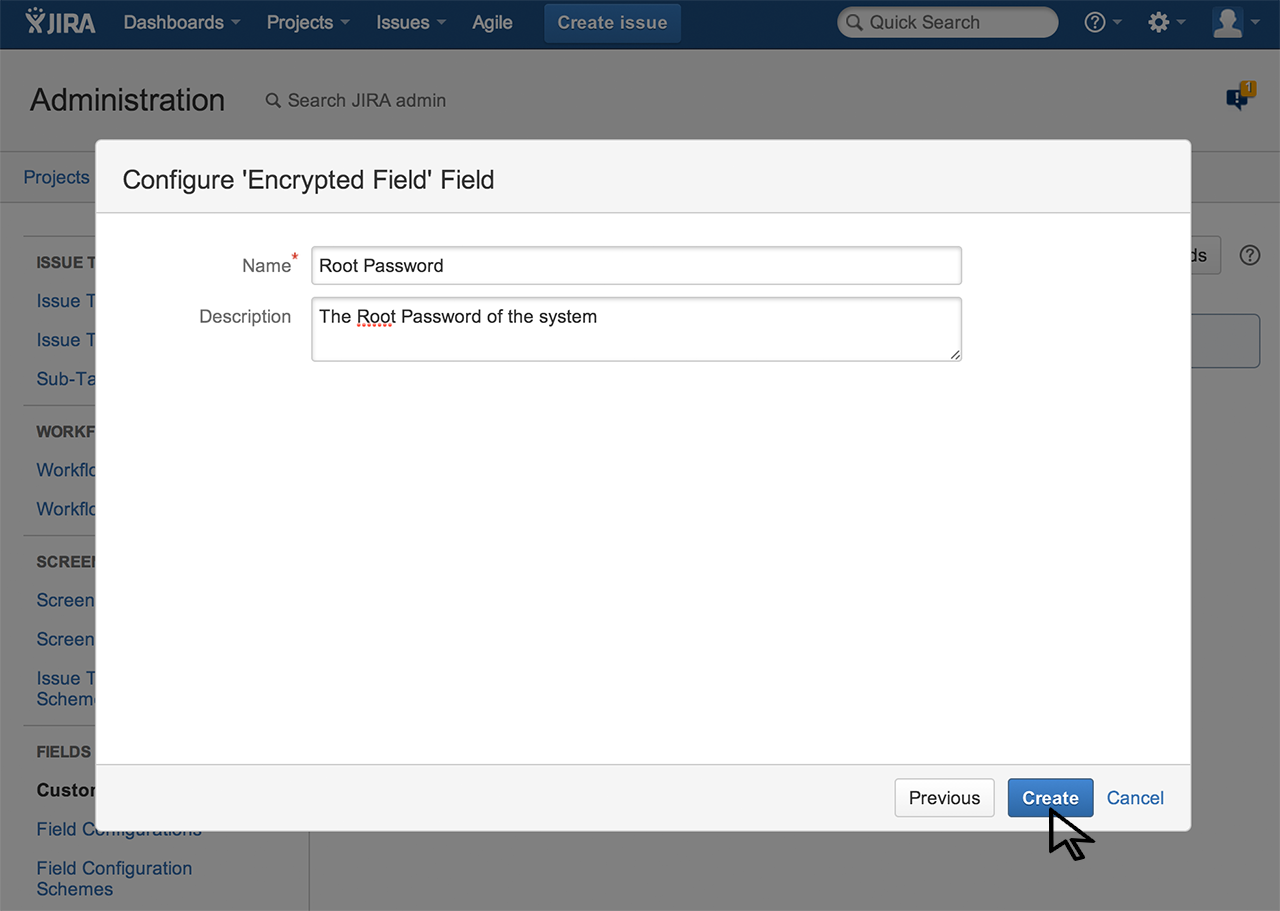
3. Fill out the name of your new custom field. In this scenario we name it Root Password:
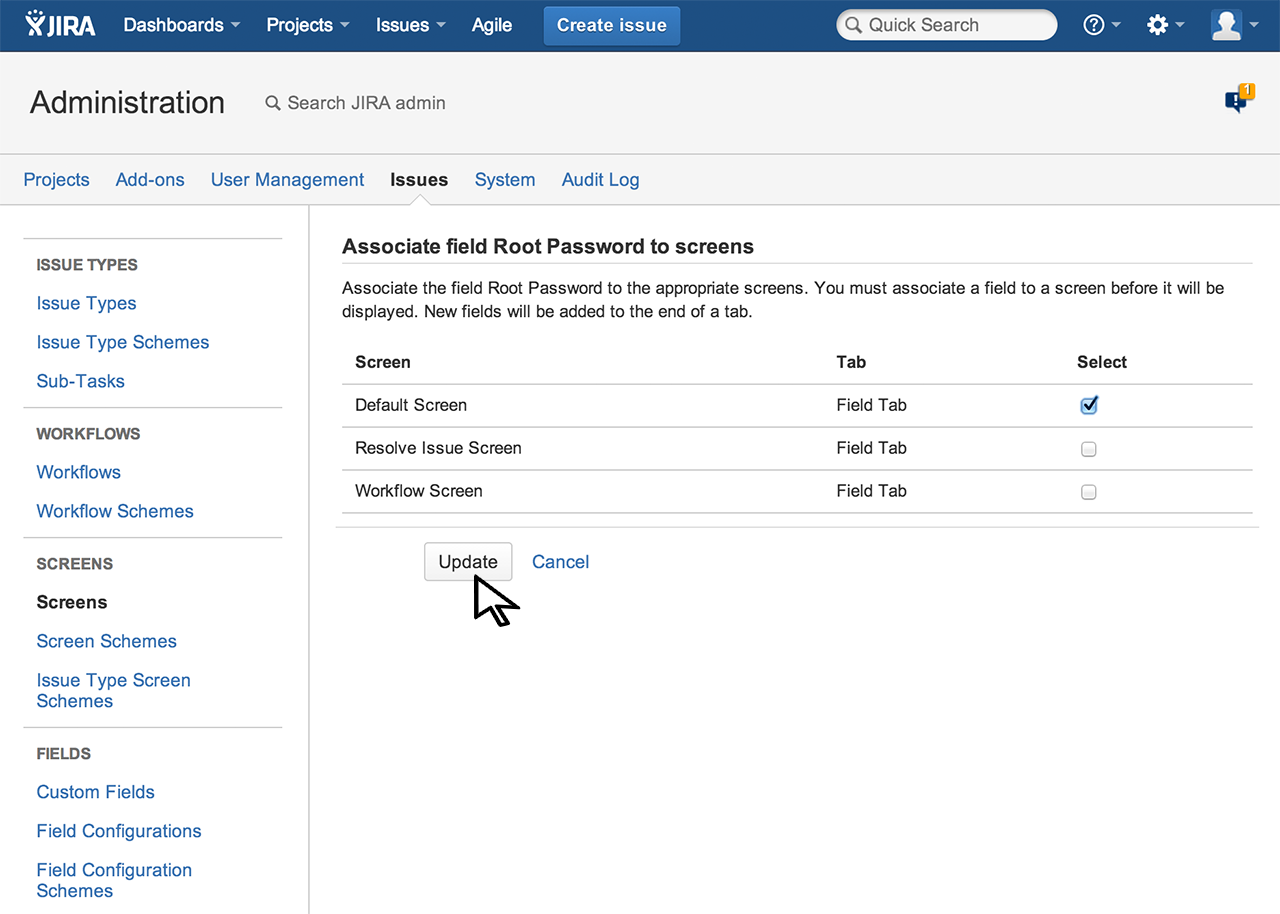
4. Remember to associate the new custom field with screens. Otherwise it is not visible.
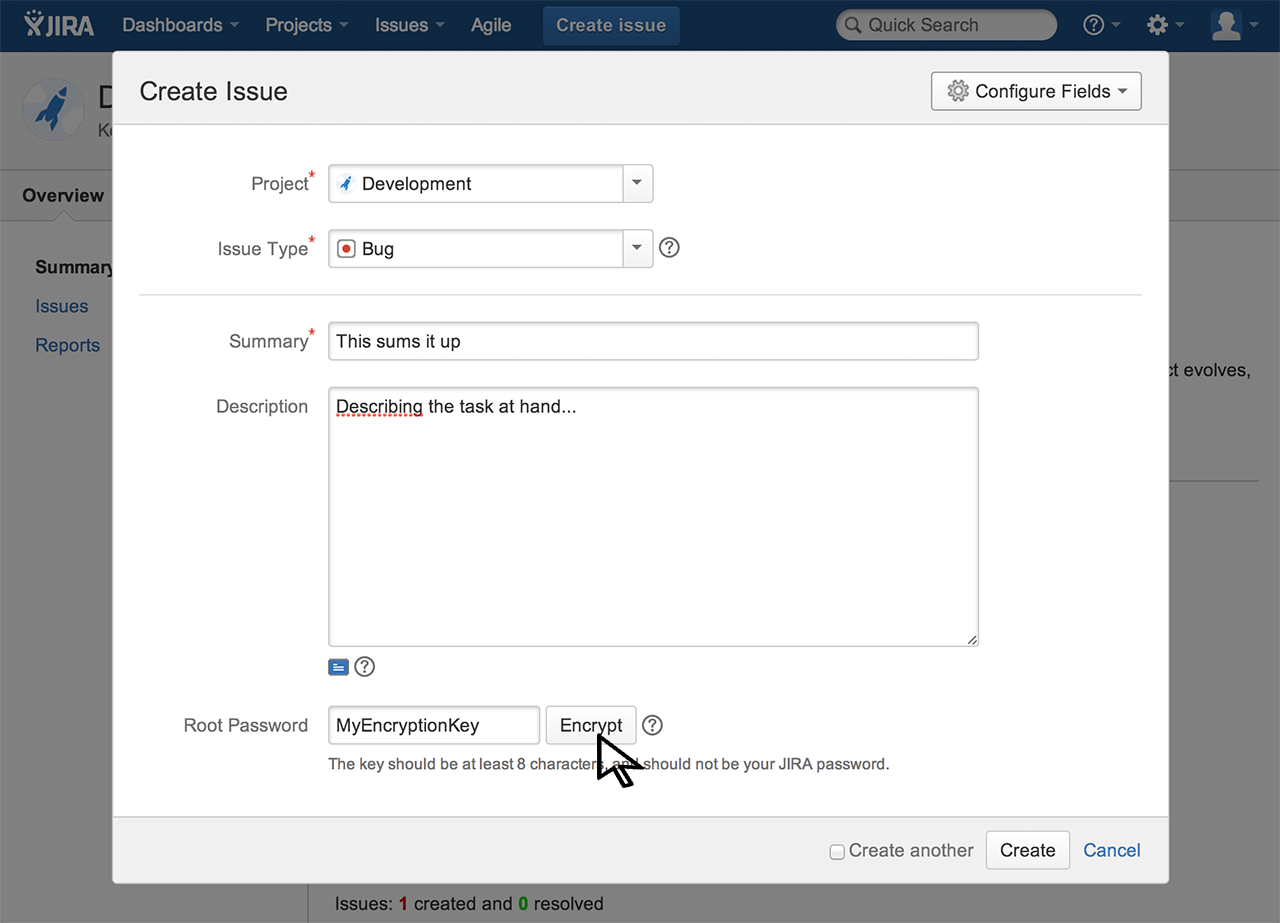
5. Create a new issue. The field is found (usually) at the bottom of the Create Screen. Input the text you need to encrypt in the text field and press Continue.

6. Now type in your encryption key (and remember it, otherwise the encrypted information is lost, or save it in e.g. a keychain). Press Encrypt when done.
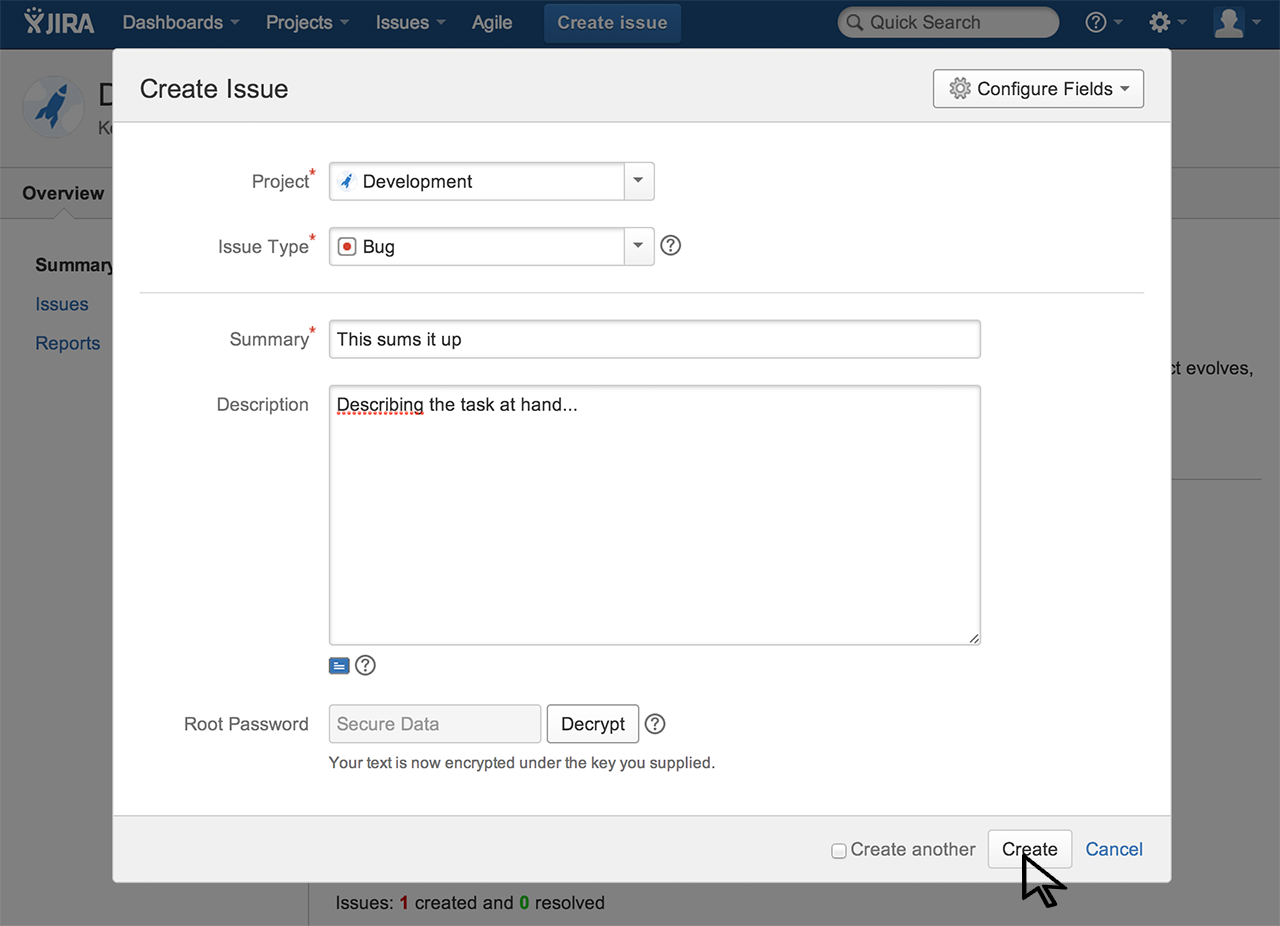
7. The password is now encrypted under the key you supplied. Complete the rest of the fields and press Create.
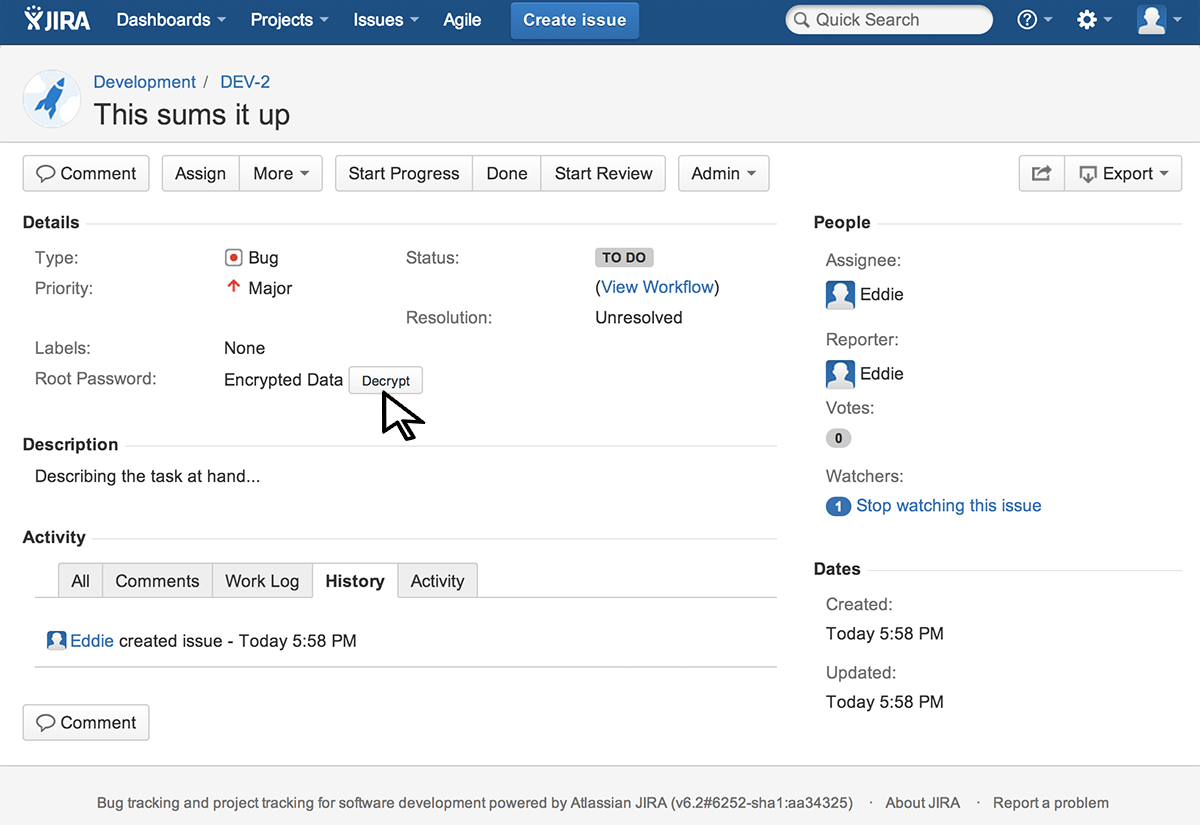
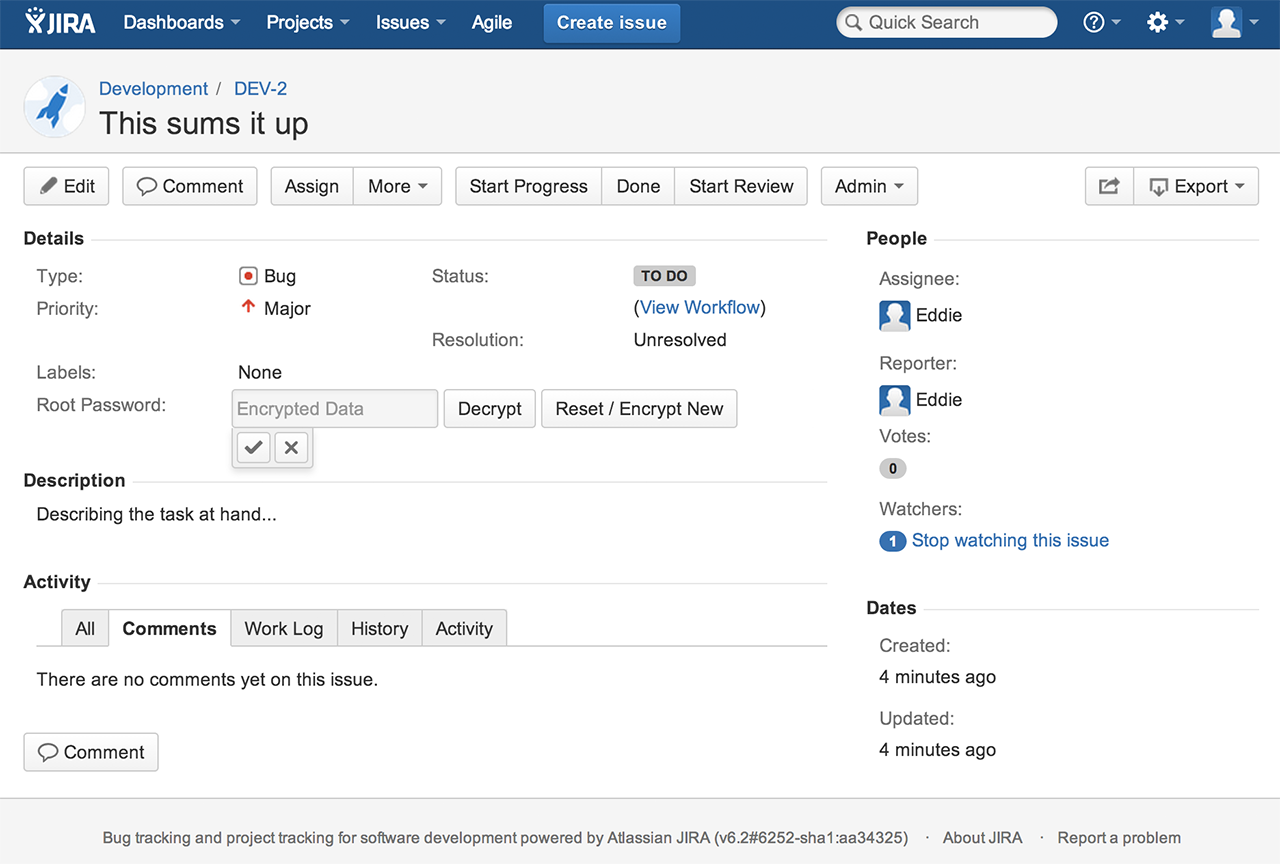
8. The Issue View just says Encrypted Data, but click on it to go into Edit mode.
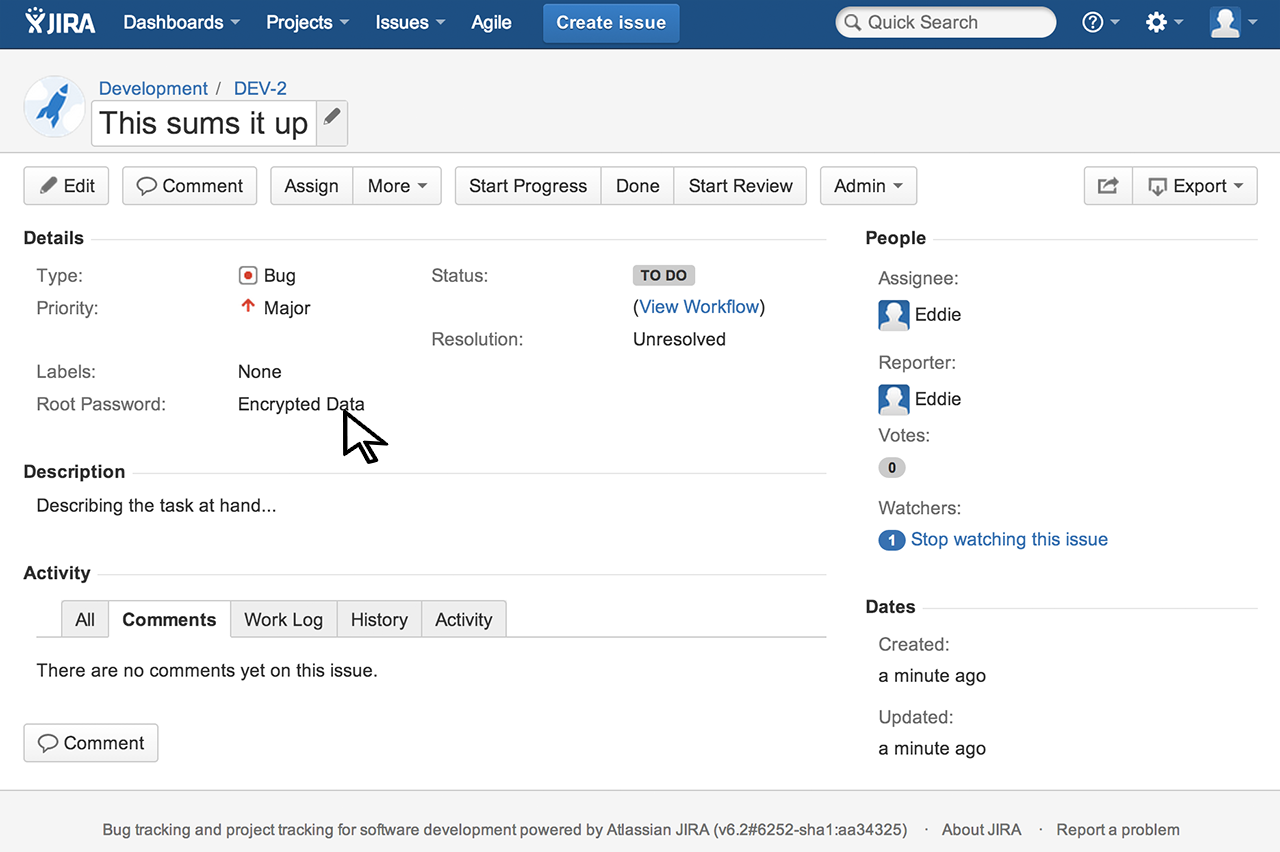
9. A set of input buttons opens up besides the text input. You can now decrypt the data, or overwrite it with other encrypted information.
10. If the user does not have Edit-permission, the encrypted value can still be decrypted by any user having View-permission of the issue: